
Let's be honest, trying to import Excel into Google Sheets can feel like a high-stakes gamble. One minute you're uploading a file, the next you're staring at a frozen browser tab, broken formulas, or a jumbled mess of data. It’s a common frustration, but the good news is there are straightforward ways to get it right.
Whether you're dealing with a small report or a massive dataset that makes your computer groan, this guide has you covered. We'll walk through everything from the simple, built-in tools to more advanced solutions for those truly monstrous files.
Why Move From Excel to Google Sheets?
Making the jump from a desktop-based program like Excel to the cloud-first world of Google Sheets is about more than just switching software. It fundamentally changes how you and your team interact with data. The single biggest reason people switch is real-time collaboration.
Imagine multiple people editing, dropping comments, and running analysis in the same spreadsheet at the same time. That’s the magic. No more emailing file versions back and forth, trying to figure out which "Final_Report_v3_final_final.xlsx" is the right one.
Plus, your data is always accessible. As long as you have an internet connection, you can pull up your sheet on a laptop, tablet, or phone. This is a game-changer for remote teams or anyone who needs to work on the move.
Unlocking Key Advantages
Once you get past the basic sharing features, you start to see the real power of Google Sheets. It’s designed to create a more connected and efficient workflow that traditional spreadsheets just can't replicate.
Here are a few of the core advantages that win teams over:
- Seamless Google Workspace Integration: Sheets plays incredibly well with other Google apps. You can link it directly to Google Docs and Slides, or even better, have Google Forms automatically dump survey responses right into a sheet for you.
- Powerful Version History: This is an absolute lifesaver. You can scroll back through every single change made to a sheet, see who made it, and restore any previous version with a click. No more "undo" panic.
- Automated and Simplified Workflows: With functions like
IMPORTRANGEand the power of Google Apps Script, you can automate tedious data pulls and repetitive tasks, saving yourself hours of manual work.
The real value isn't just about having your spreadsheet online. It's about building a single source of truth that your entire team can access and trust, turning a static file into a dynamic, collaborative asset.
Making the Transition Smoothly
Think of this guide as your roadmap to a frustration-free workflow. We’ll kick things off with the quick-and-easy methods that Google provides right out of the box. From there, we’ll dive into more robust techniques for handling those big, complex spreadsheets that love to crash browsers.
If you’re still weighing your options, our comprehensive spreadsheet software comparisons can help you see exactly where Google Sheets stands out. It's time to leave the import headaches behind for good.
Mastering Google's Built-In Import Tools
Google gives you two main ways to get your Excel data into Google Sheets, and knowing which one to use can save you a lot of headaches. These are your bread-and-butter methods, perfect for most day-to-day files and smaller datasets. Let's break down how they work and when to use each one.
The Direct Approach: Using "File > Import"
The most straightforward path is using the File > Import command directly inside an open Google Sheet. This is your go-to when you're already working in a spreadsheet and need to pull in data from an XLSX or CSV file. It gives you surgical control over where that new data ends up.
Imagine you just got the latest quarterly sales report as an Excel file. You want to add this as a new tab to your main sales dashboard in Google Sheets. This is the perfect scenario for using File > Import.
When the import window pops up, you get a few critical choices. Getting this right is key to keeping your spreadsheet organized.
- Create new spreadsheet: The safest bet. It converts your Excel file into a completely new, separate Google Sheet, leaving your current work untouched.
- Insert new sheet(s): This is exactly what you'd use for that sales report example. It adds the data from your Excel file as a new tab (or tabs, if the file has multiple) into the spreadsheet you have open.
- Replace spreadsheet: Be careful with this one. It completely wipes out all existing tabs and data in your current Sheet and replaces it with the content of the file you're importing. There's no undo for this!
- Replace current sheet: A handy option for updating a specific tab. Think of it as a quick way to refresh a monthly expense log with the latest version.
The Drag-and-Drop: Uploading to Google Drive
Your other option is to start in Google Drive. Just find your Excel file on your computer and drag it directly into a Drive folder.
Once it's uploaded, right-click the file and choose Open with > Google Sheets. Google automatically converts the .xlsx file into a brand new Google Sheet. It's fast, simple, and ideal when your only goal is to convert a single file for online access.
Choosing Your Native Import Method
So, which built-in method should you choose? It really depends on what you're trying to accomplish. This table breaks down the key differences to help you decide on the fly.
| Feature | Using 'File > Import' | Uploading to Drive First |
|---|---|---|
| Best For | Merging data into an existing spreadsheet. | Quickly converting a standalone Excel file. |
| Control | High. You decide where the data goes (new tab, replace tab, etc.). | Low. It always creates a new, separate Google Sheet. |
| Workflow | Starts inside Google Sheets. | Starts inside Google Drive. |
| Common Use Case | Adding a monthly report tab to a yearly dashboard. | Making an Excel file you received via email viewable online. |
Both of these built-in tools are fantastic for everyday tasks, but they have a definite breaking point.
Keep in mind that both of these native methods run entirely in your web browser. This means they rely on your computer's local memory, which can be a major bottleneck for large files and often leads to the dreaded "Page Unresponsive" error.
This is where the size of your data really starts to matter. We're not just talking about a few thousand rows. Analysts are projected to import Excel files over 500 million times annually by 2026. However, a staggering 55% of native import attempts involving files with over 100,000 rows fail due to browser timeouts.
You can dig into a great analysis of Google Sheets import limitations and user session data on Rows.com for more details. The takeaway is simple: these tools are great, but for heavy-duty jobs, you'll need a more robust solution.
Solving Common Errors with Large File Imports
Nothing kills your momentum faster than that dreaded "Page Unresponsive" error. You've prepped your data, you go to import an Excel file into Google Sheets, and the browser just throws its hands up and quits. This isn't just a random fluke; it's what happens when you push a browser-based tool beyond its limits.
When you use the standard import feature in Sheets, all the heavy lifting happens right there in your browser. It has to download the file, read every single cell, and then try to display it. With a massive file, this eats up a shocking amount of memory, which is exactly what leads to freezes, crashes, or—even worse—incomplete data where the import just silently fails partway through.
This isn't just a minor annoyance; it's a real productivity killer. A recent Stack Overflow survey involving 90,000 developers and analysts revealed that 62% lose about four hours a week just fighting these kinds of errors. For small to mid-sized businesses, this friction balloons into an estimated $500 million in lost productivity every year as teams get stuck manually chopping up files. You can dig deeper into these troubleshooting challenges and their business impact on parsea.io.
Splitting Your Excel File into Manageable Chunks
The most common hands-on solution is to break that giant file into smaller, more digestible pieces. Instead of wrestling with a 500,000-row monster, you could split it into five separate 100,000-row files. This simple trick keeps each individual import well within your browser's memory limits.
It’s a solid strategy, but it requires a bit of care to get right.
- Keep Your Headers: Remember to copy the header row into every new chunk you create. If you don't, you'll end up with a bunch of context-free data that's a pain to reassemble.
- Stay Organized: Come up with a clear naming system, like
SalesReport_Part1,SalesReport_Part2, etc. It seems obvious, but it’ll save you a headache later. - Rebuild in Google Sheets: Once you’ve imported each piece into its own tab, you can use formulas or just copy and paste to merge them back into one master sheet.
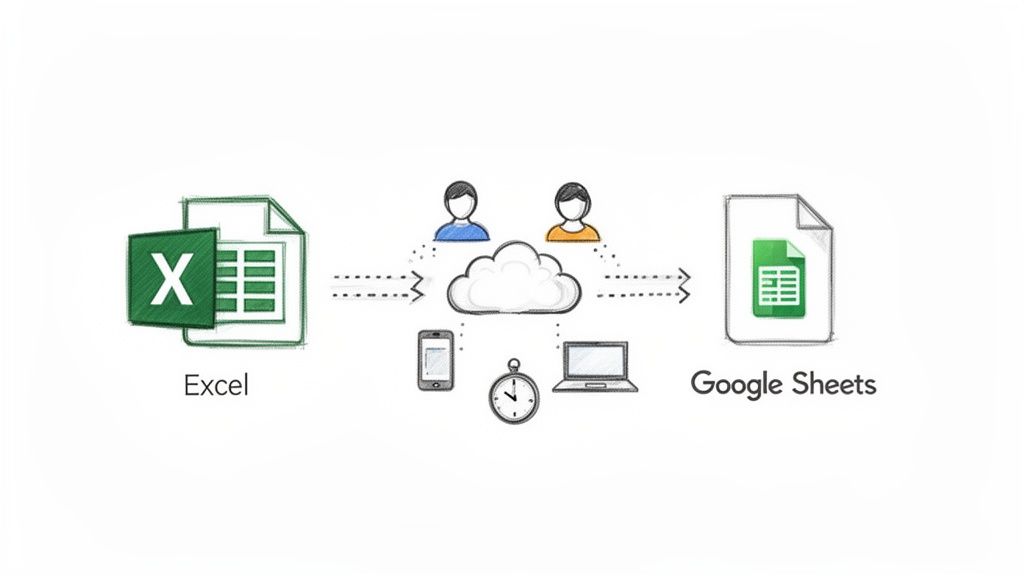
This workflow visualizes how your data travels from a local file into the Google cloud ecosystem.
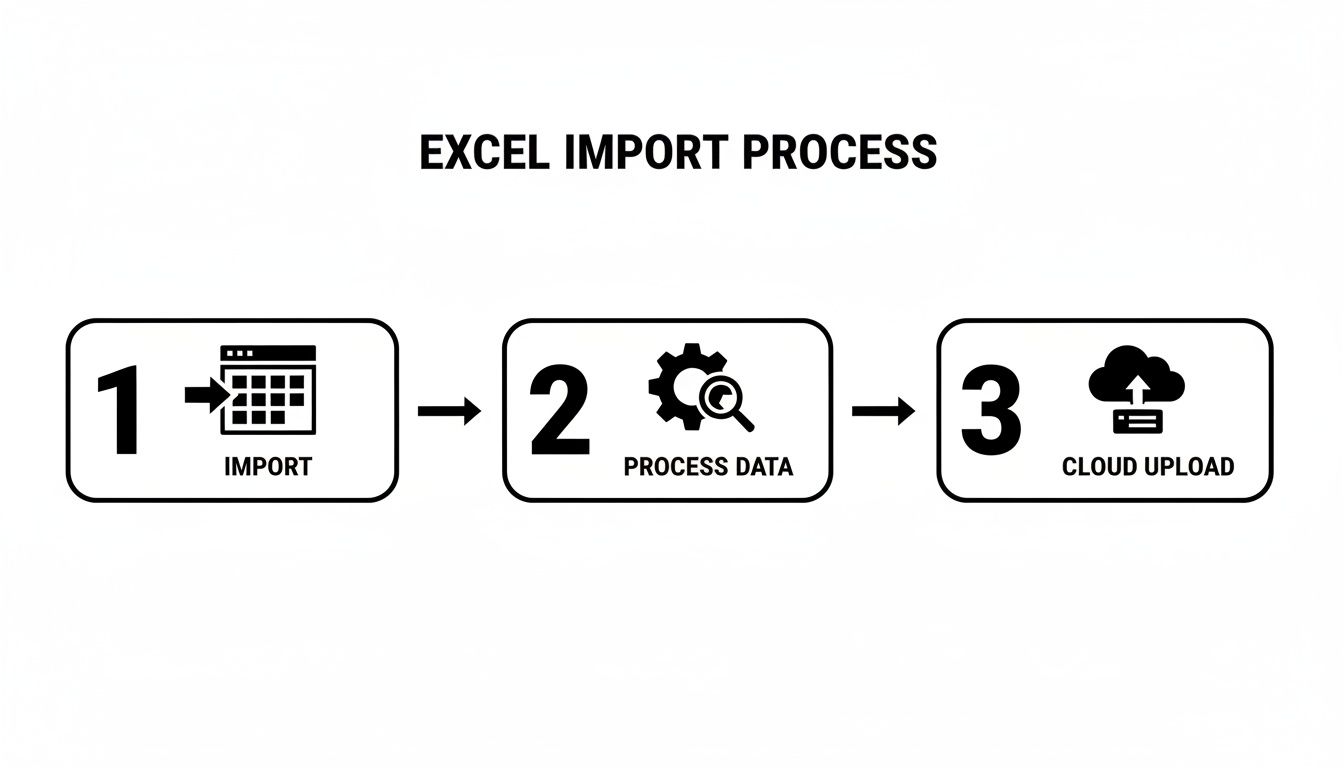
As you can see, your browser is the middleman, the bridge between your computer and Google Drive. That’s precisely the bottleneck where large files get stuck.
Converting to CSV for a Simpler Import
Another trick I’ve used countless times is converting the Excel file (.xlsx) to a Comma-Separated Values (.csv) format before importing. A CSV is just plain text—it gets rid of all the complex formatting, formulas, macros, and multiple tabs that make Excel files so heavy.
By converting to CSV, you're essentially giving Google Sheets a much easier job. The browser doesn't have to waste resources trying to figure out complex Excel styling; it can just focus on the raw data. This dramatically lowers the memory needed for the import.
To make the switch, just open your file in Excel, head to File > Save As, and pick CSV UTF-8 from the file type menu. That "UTF-8" part is really important—it ensures all your characters are encoded correctly so you don't end up with garbled symbols in your dataset. More often than not, this lightweight CSV will import smoothly where the original XLSX file failed.
Automating Imports with Scripts and Add-ons
When you find yourself manually uploading the same files every week—or worse, every day—it's no longer just a task; it's a bottleneck. Splitting huge files or converting everything to CSV first might stop your browser from crashing, but it certainly isn't saving you any time. This is the turning point where you should stop working for your data and start making your data work for you. Automation is the answer.
For anyone who's comfortable with a little bit of code, Google Apps Script is a fantastic, built-in solution. It’s a JavaScript-based platform that lets you create custom functions and automate workflows right inside your Google apps. You can write a script that watches a specific Google Drive folder and automatically imports any new Excel file it finds into a designated Google Sheet.
Using a script gives you total control. You can dictate exactly how the data is handled, where it ends up, and even set up email alerts to let you know when the import is complete.
Using Google Apps Script for Imports
Diving into Apps Script for the first time might feel a bit daunting, but even a simple script can work wonders for basic automation. Let's say you get a new sales report dropped into a shared Drive folder every Monday morning. Instead of spending your first 15 minutes importing it, a script can have it ready for you before you've even had your first coffee.
So, how does it work? Here's the basic idea behind the script's logic:
- First, the script needs to know the unique ID of the Excel file living in your Google Drive.
- Next, you tell it the destination—which Google Sheet and which specific tab should get the data.
- Then, the core logic kicks in, using built-in services to read the Excel data and paste it into the right cells.
- Finally, you can set a trigger to run the script automatically, like a time-based trigger that runs every day at 8 AM.
The real magic of Apps Script is the customization. You're not just moving data from A to B; you're building a workflow that fits your exact needs. You can program it to clear out old data before importing the new, apply specific formatting, or even merge files from different sources into one clean dashboard.
Exploring the Google Workspace Marketplace
If writing code isn't your thing, don't worry. The Google Workspace Marketplace is your next best bet. Think of it as an app store for Google Sheets, packed with third-party add-ons designed to add new capabilities. Many of these tools are built specifically to import Excel into Google Sheets on a schedule.
These add-ons give you a clean, user-friendly interface to set everything up. You can usually connect your Google Drive, Dropbox, or other cloud storage, point it to your source file, and schedule the import without ever looking at a line of code.
Here's what you typically get with an add-on:
- No-Code Setup: A simple, point-and-click interface makes scheduling imports easy.
- Powerful Features: Many offer advanced options like data filtering, transformations, and detailed error logs.
- Dedicated Support: Unlike a script you build yourself, paid add-ons usually come with customer support to help you out.
Of course, there are trade-offs—usually cost and flexibility. While many have free plans, the most powerful features are often locked behind a paid subscription. You’re also limited to the features the developer decided to build. For more complex jobs, like automatically combining data from several sources, check out our guide on how to merge multiple Excel files for some more advanced strategies.
The Best Way to Handle Massive Excel Files
When you find yourself splitting files or running scripts just to get data into Google Sheets, you’re not really solving the problem—you’re just patching it. For truly massive datasets, we're talking hundreds of thousands or even millions of rows, you need a different strategy that gets your browser out of the equation entirely. This is where server-side processing becomes a lifesaver for anyone trying to import Excel into Google Sheets without the constant failures.
Instead of forcing your computer's limited memory to do all the work, a dedicated tool offloads the whole process to a powerful server. The server handles all the heavy lifting—reading the file, parsing the data, and feeding it into your Google Sheet, all in the background. Your browser tab never freezes because it isn't doing anything. You can literally close your laptop, and the import will keep chugging along.
Why Server-Side Processing Wins
This approach gets to the very root of why large file imports fail. By moving the task to a server designed for heavy data loads, you sidestep the bottlenecks that cause browser crashes and timeouts.
Imagine a marketing team trying to import a year's worth of analytics data—a file with two million rows. The native import would crash before it even started. But a tool like SmoothSheet handles it on its own infrastructure, guaranteeing the data shows up intact without you ever seeing that dreaded "Page Unresponsive" error.
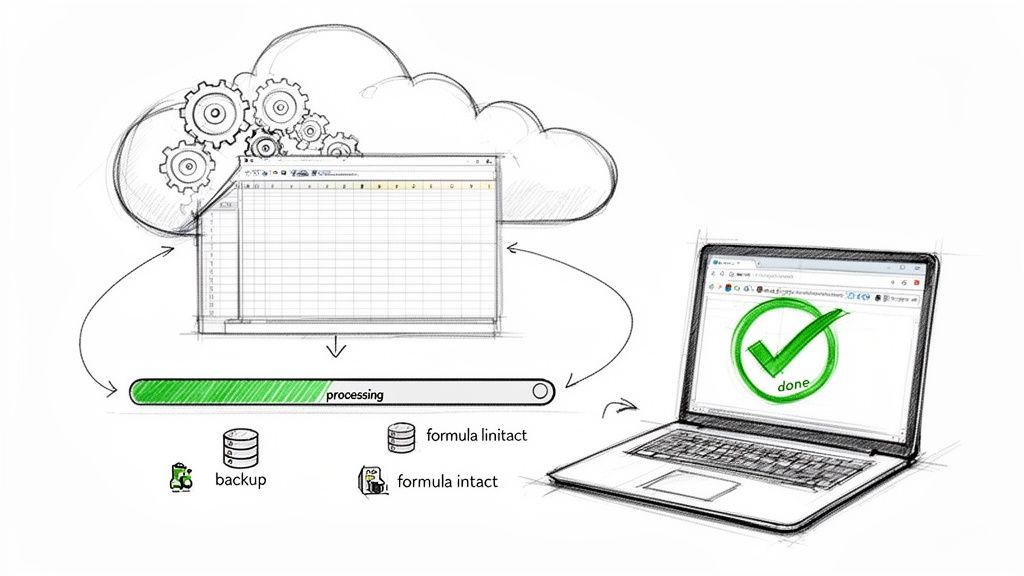
This kind of architecture gives you some serious advantages:
- Background Processing: You can kick off a massive import and then immediately get back to your real work. A simple notification lets you know when it’s finished.
- Automatic Backups: The best tools are smart enough to create a snapshot of your sheet before the import starts. If something goes wrong, it can automatically roll back to the previous version.
- Intelligent Formula Handling: It can actually detect formulas in your header row and correctly apply them to all the new data as it comes in, saving you from a mountain of manual cleanup.
The concept is simple but incredibly effective: move the workload from your local machine to the cloud. This doesn't just make large imports possible; it transforms a frustrating, manual chore into a reliable, automated process.
A Smarter, Safer Way to Import
The limitations of browser-based imports have been a headache for users since Google Sheets first launched. Even today, imports over 50,000 rows will crash browser tabs for almost a third of power users. Server-side tools shine by handling millions of rows with ease, bypassing the native Sheets quotas that throttle a huge percentage of large imports. You can learn more about the history and technical hurdles of Google Sheets imports on parsea.io.
For anyone doing serious data work, this approach isn't just a nice-to-have; it's a necessity. It protects your data's integrity, saves you hours of tedious effort, and gives you the confidence that your critical information will get where it needs to go, correctly, every single time.
Before you start your next big import, you can also use our handy Google Sheets limits calculator to see if you're getting close to any risky thresholds.
Common Questions (and Fixes) When Importing Excel Files
When you're moving data from Excel into Google Sheets, a few common questions always seem to pop up. Getting the answers right from the start can save you a ton of headaches down the road.
Will My Excel Formulas and Formatting Carry Over?
Mostly, yes—but with some important caveats. Basic formulas like SUM and AVERAGE and simple formatting like bold text, cell colors, or font sizes usually make the jump just fine.
The trouble starts with more complex, Excel-specific features. Things like advanced PivotTables or VBA macros often don't translate because Google Sheets has its own engine. You'll likely need to rebuild these using native Google Sheets tools, like its own Pivot Table feature or powerful functions like QUERY.
What's the Real File Size Limit for an Import?
This is a tricky one. While Google Sheets has an official limit of 10 million cells per sheet, you'll hit a practical roadblock long before that.
From my experience, files start to choke the browser-based importer once they get over 20 MB or have more than 100,000 rows. The real bottleneck isn't a hard limit set by Google, but rather your computer's own memory and browser performance. This is why the exact same file might import fine for a colleague but crash your browser completely.
The most common failure point isn't the file size itself; it's the memory your browser needs to process the data all at once. Server-side tools get around this by handling the import in the cloud, which sidesteps browser limitations and makes the process far more reliable for big files.
How Do I Fix Garbled Text or Weird Symbols After Importing?
If your text looks like gibberish after an import, you're almost certainly dealing with a character encoding mismatch. This typically happens when an older Excel file uses an encoding standard that Google Sheets can't read. Google Sheets prefers the universal standard, UTF-8.
Thankfully, the fix is straightforward.
- Open your original file in Excel.
- Go to File > Save As.
- In the "Save as type" dropdown, find and select CSV UTF-8 (Comma delimited) (.csv).
Saving the file in this format ensures all your characters, symbols, and even emojis will show up perfectly when you import the new CSV into Google Sheets.
When you're done fighting browser freezes and manually splitting up large files, SmoothSheet is the solution. It processes massive Excel and CSV imports in the background, so you can close the tab and get back to work. Give SmoothSheet a try for free.